Designing a lanyard can be a fun and creative process, whether for personal use or to promote a business or event. A well-designed lanyard can help to create a professional and cohesive look and can be an effective way to showcase a brand or message. In this article, we will provide a step-by-step guide on how to design a lanyard.
Step 1: Determine the Purpose
The first step in designing a lanyard is to determine the purpose for which it will be used. This will help to guide the design process and ensure that the lanyard meets its intended purpose. For example, if the lanyard is being designed for a promotional event, the design may need to include the company logo and contact information. If the lanyard is being designed for personal use, the design may be more focused on personal style and preferences.
Step 2: Choose the Material
Once the purpose has been determined, the next step is to choose the material for the lanyard. Lanyards are typically made from polyester, nylon, or cotton, and each material has its own benefits and drawbacks. Polyester is the most common material used for lanyards because it is affordable and durable. Nylon is stronger and more durable than polyester, making it a good choice for heavy-duty use. Cotton is less commonly used for lanyards because it is not as durable as polyester or nylon, but it is comfortable and breathable.
Step 3: Select the Color and Width
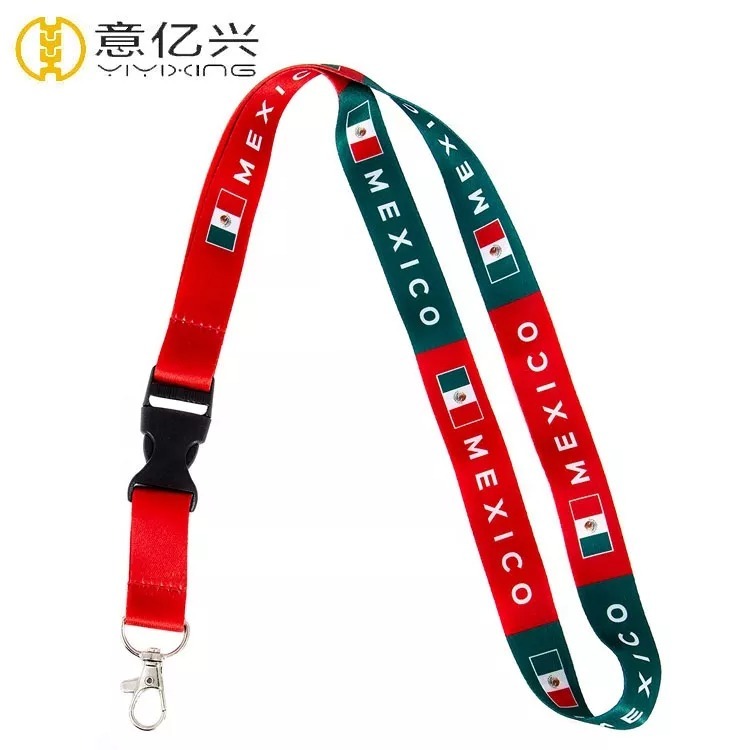
The next step is to select the color and width of the lanyard. This will depend on the purpose of the lanyard and the preferences of the designer. For example, if the lanyard is being designed for a business, the color may need to match the company's branding. The width of the lanyard can also vary, with widths ranging from 3/8 inch to 1 inch.
Step 4: Add Text and Graphics
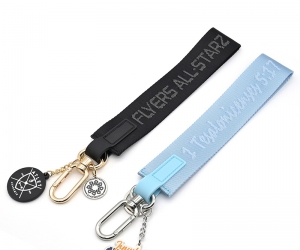
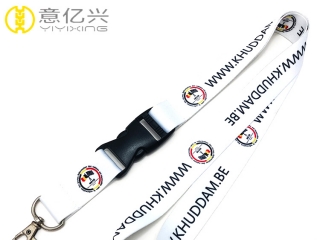
Once the color and width have been selected, the next step is to add text and graphics to the lanyard. This can be done using heat transfer, screen printing, embroidery, or woven labels. Heat transfer and screen printing are the most common methods and are suitable for most designs. Embroidery and woven labels are more expensive but provide a higher quality look.
When adding text and graphics, it's important to consider the size and placement. The text and graphics should be large enough to be easily visible but not so large that they overwhelm the lanyard. The placement should also be carefully considered to ensure that the text and graphics are visible when the lanyard is being worn.
Step 5: Choose the Attachment
The final step in designing a lanyard is to choose the attachment. The attachment is the part of the lanyard that holds the ID badge or keys. The most common attachments include swivel hooks, bulldog clips, and key rings. The attachment should be chosen based on the intended use of the lanyard and the preferences of the designer.
Conclusion
Designing a lanyard is a creative and fun process that can help to promote a business or event or showcase personal style. By following these steps and carefully considering the purpose, material, color and width, text and graphics, and attachment, anyone can design a lanyard that meets their specific needs and preferences. Whether for personal use or to promote a business or event, a well-designed lanyard can be an effective way to create a professional and cohesive look.
-
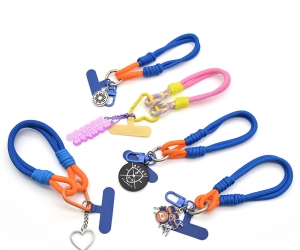
 Such a beautiful keychain makes people love and hate!
If you are a designer, then lines like "Tune a little bit here", "Help me change t...
Do you like ?0
Read more -
 Easy to carry Water Bottle Lanyards buying
 -
 Advantages of using personalized printed Silicone Wristbands
 -
 The difference between nylon lanyard vs polyester lanyard - Yiyixing
What is Polyester Made Lanyards?
When it comes to <...
Do you like ?0
Read more -
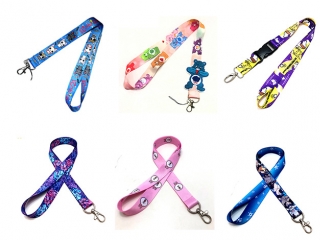 Does Wear Cute lanyard can keep in a good mood?
With the growth of age, girls are more and more inclined to adorabl...
Do you like ?0
Read more -
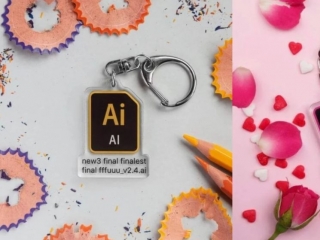
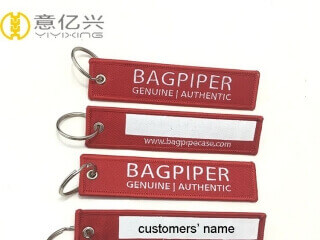 Why not choosing custom flight tags as a gift?
Fabric key tag, made by embroidery or woven is one of our new appli...
Do you like ?0
Read more