How do you attach a lanyard to a cell phone?
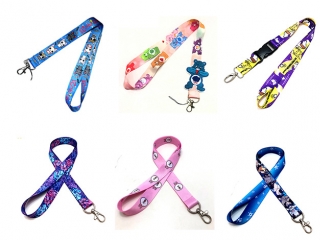
In today's digital age, cell phones have become an inseparable part of our lives. As we carry them with us everywhere, the risk of dropping or losing our phones has increased. To mitigate this risk, many individuals opt for lanyards to keep their cell phones secure and easily accessible. Custom lanyards, in particular, offer a stylish and personalized way to attach our phones. In this article, we will explore the proper method of attaching a lanyard to a cell phone, focusing on the use of custom lanyards.
1. Choose the Right Lanyard:
Before attaching a lanyard to your cell phone, it is important to select the right lanyard that suits your style and needs. Custom lanyards provide an excellent opportunity to showcase your individuality and preferences. When choosing a custom lanyard, consider factors such as the material, length, width, and design that align with your aesthetic taste and practical requirements.
1. Locate the Attachment Point:
The next step is to identify the attachment point on your cell phone. Most modern smartphones have a small hole or a slot specifically designed for attaching accessories like lanyards. This attachment point is typically located near the top or bottom edge of the device. Refer to your phone's user manual or manufacturer's website to locate this point precisely.
1. Prepare the Lanyard:
Once you have chosen the ideal custom lanyard and identified the attachment point on your cell phone, it's time to prepare the lanyard for attachment. Ensure that the lanyard is untangled and free from any knots or twists. Straighten it out completely to make the attachment process easier and more convenient.
1. Thread the Lanyard through the Attachment Point:
Gently thread one end of the lanyard through the attachment point on your cell phone. Depending on the design of the attachment point, you may need to use a small tool like a needle or a paper clip to guide the lanyard through the hole or slot. Take your time and be careful not to force or damage the attachment point or the lanyard.
1. Create a Secure Knot:
Once the lanyard is threaded through the attachment point, it's time to create a secure knot to ensure that the lanyard stays in place. There are various knot options available, such as the simple overhand knot or the more secure double fisherman's knot. Choose a knot that you are comfortable with and that provides sufficient security for your cell phone.
1. Test the Attachment:
After securing the knot, give the lanyard a gentle tug to ensure that it is firmly attached to your cell phone. This step is crucial to prevent accidental detachment and potential damage to your device. If the lanyard feels loose or unstable, recheck the knot and make any necessary adjustments to enhance the attachment's strength and stability.
1. Consider Additional Security Measures:
While attaching a lanyard to your cell phone provides a level of security, it is always prudent to consider additional measures to protect your device. Consider using a sturdy phone case that offers enhanced grip and shock absorption. Additionally, explore options such as retractable lanyards or lanyards with breakaway clasps for added convenience and safety.
Attaching a lanyard to your cell phone can significantly reduce the risk of accidental drops and losses. Custom lanyards allow you to express your personal style while keeping your device secure and easily accessible. By following the steps outlined in this guide, you can confidently attach a custom lanyard to your cell phone, ensuring a stylish and functional solution to keep your device close at hand. Remember to choose the right lanyard, locate the attachment point, thread the lanyard carefully, create a secure knot, and test the attachment for stability. With these steps, you can enjoy the benefits of a custom lanyard while safeguarding your cell phone effectively.
-
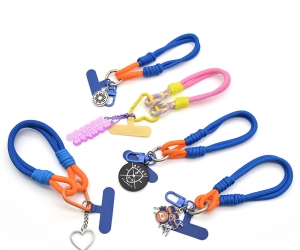
 Such a beautiful keychain makes people love and hate!
If you are a designer, then lines like "Tune a little bit here", "Help me change t...
Do you like ?0
Read more -
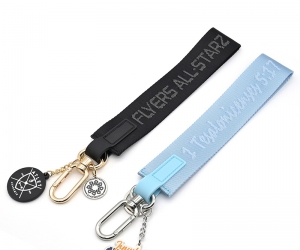
 Easy to carry Water Bottle Lanyards buying
 -
 Advantages of using personalized printed Silicone Wristbands
 -
 The difference between nylon lanyard vs polyester lanyard - Yiyixing
What is Polyester Made Lanyards?
When it comes to <...
Do you like ?0
Read more -
 Does Wear Cute lanyard can keep in a good mood?
With the growth of age, girls are more and more inclined to adorabl...
Do you like ?0
Read more -
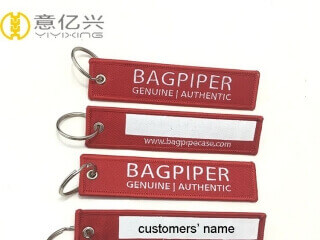 Why not choosing custom flight tags as a gift?
Fabric key tag, made by embroidery or woven is one of our new appli...
Do you like ?0
Read more